
 I had a friend ask me to make a taggie for her baby boy. While looking for fabrics at the store (and can I just say how many CUTE baby fabrics there are, right now?!), I decided to add a monogram to the front. Nothing personalizes a baby item like a monogram and it is such a simple addition.
Materials:
various ribbon
two different 14" squares of fabric
a letter pattern
extra fabric for your letter
optional: 14" square quilt batting

1. Cut out your monogram and pin and sew it to the front fabric piece.

2. Cut pieces of ribbon in various lengths. Fold in half and pin them to the right side of the back piece of fabric. Sew along the outside edge.
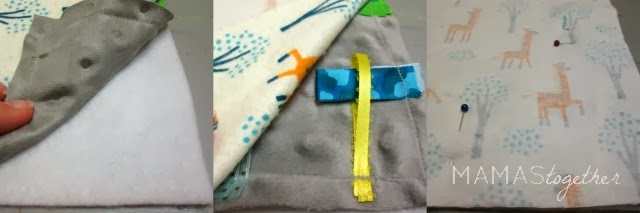
3. Layer your fabrics. Batting, back piece face up, front piece face down.
4. Pin and sew around the outside edge. Leave a small space open in order to turn the piece right side out.
5. After it is turned right side out, top stitch around the outer edge to finish and to close the opening. Press, if needed.
Make one for yourself or for a friend who is having a baby. Every mama will love the personal touch of a monogram taggie for her little one!


No comments:
Post a Comment
Thanks for visiting! We love to read your comments on our projects. When you leave a comment it may not post immediately, but don't worry we will see it!