Two of my favorite things: DIY and baby wearing. To make it even sweeter? This project was just under $20!
Throughout my 4 years of parenting, the amount of time I've spent "wearing" my babies has been significant. I love having options of which carrier to grab and use for different amounts of time and comfort. One thing I didn't have was a ring sling. They are incredibly easy to use, adjustable and can fairly easily be made.
*Disclaimer: I am not a seamstress, my work is not perfect. But, do you know what that means?? You can do it too! With basic sewing skills and materials, this project can easily be achieved.
What I used:
2.5 yards (plus extra for pocket) Osnaburg 100% cotton (I would not recommend a quilters cotton since it will not hold up well to wear. 100% linen is also a good choice.)
Coordinating thread
Large Bronze Aluminum Rings (from slingrings.com)
First, pre-wash your fabric. This will preshrink and soften it up.
Lay out your fabric on the floor, cut about an inch off of each side. Mine ended up at 80 inches long by 40 inches wide.
Around the bottom and sides, make a half inch hem. Ironing will help keep it in place.
Pin it in place.
Stitch along your hem at a 1/2 inch on each long side.
If it looks something like this, you're in good shape!
Now do the same to only one of the shorter sides.
The opposite short side will be at your shoulder. It does not need to be a finished hem, so just fold over once and sew.
Take the side you just finished (shoulder) and lay it flat, folding each side half way in so they meet in the middle.
Fold the ends to the middle again, keeping everything smooth.
Pin in place about 2 inches from the end.
Pin again about 12 inches from the end to hold your folds in place.
Position your rings about half way in between where you've pinned.
Fold over past your pins, about 15 inches down.
Sew a straight line just before your hemmed edge.
Turn it over and sew another straight line over your hem.
This is the back side of the sling. Sew two more straight lines. One in between your first two lines, and another closer to the rings. This will ensure your sling can withstand the weight of a baby while wearing.
You are finished with your sling! You can now take it one step further and add a simple pocket to the tail of your sling, which is very handy to hold small items while wearing.
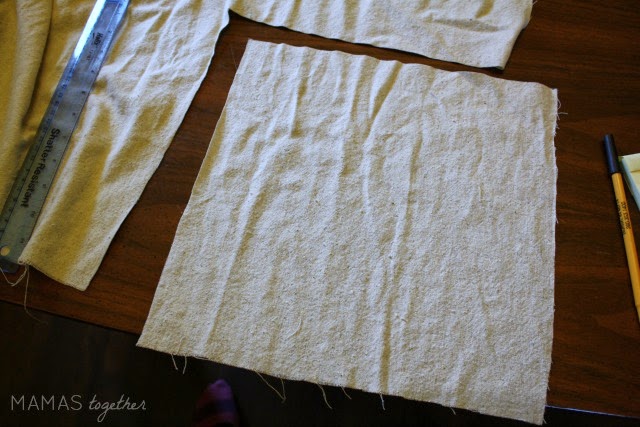
Cut a 12X12 inch piece of fabric. This can be the same fabric or you can get creative with a fun print!
Fold a finished hem on two sides, iron.
Do the same on the other two sides.
You will need to sew one side of your hemmed edge before pinning to your sling. This will be the top (opening) of your pocket.
This is also a 1/2 inch hem.
When wearing your sling, the "back" side of your tail will be showing. That's where your pocket will go. Find the center of your "tail" and pin your pocket in place. Make sure to leave the side you just finished as the opening. Don't sew that side closed.
NOW you are finished and ready to "thread" your sling! Grab your baby (or toddler) and quickly and easily wear them hands free!
Final cost:
Fabric: $8.91 (For 3 yards at $2.97/yard)
Rings: $6.56 (after shipping cost)
Thread: $2.18
Grand Total: $17.65!
I would say that is quite the thrifty little project for something that could have cost anywhere from $30-$100+.
Here you can learn all about your new ring sling, from how to thread your sling, proper way to wear and the various carries you can do! Happy Baby Wearing!


This makes my <3 happy! You rock girl...excited to get my sew on!
ReplyDeleteSo glad! Would love to hear about your finished product!
DeleteSo glad! Would love to hear about your finished product!
Delete